The next part of my Motobecane 650B conversion project involves "cockpit" items - bars, stem, and levers. On most bikes this should just be a matter of choosing parts you like and which fit your budget, but I chose an old French bike which means I made it a little more challenging for myself.
The only other French bike I've ever built up was a mid-'80s Vitus aluminum (remember those? Aluminum tubes in cool anodized colors, "screwed and glued" into polished aluminum lugs) and all its frame-fit and threaded components were made to modern British or ISO dimensions. But older French bikes used unique dimensions for such items as bottom brackets, headsets, bars, stems, and freewheels. Here was the reality as far as French headsets were concerned: Pressed-in parts, like head-tube cups and races, were the same size as their British and Italian counterparts. Threaded parts were unique and incompatible with other national dimensions. And the inner diameter of the fork steerer was slightly smaller and required a smaller diameter handlebar stem - 22.0 vs. 22.2.
For my conversion, I did spend some time looking around for 22.0 stems. New ones are pretty much non-existent. Used ones come up on eBay, but many are questionable from a safety standpoint (
AVA "death-stem" anyone?), and most of them are only available for French dimensioned handlebars which run from about 23.5mm to 25mm diameter, while most better quality road drop bars today are 26.0 (actually, nowadays, 31.8 - but that looks bad on a vintage steel bike if you ask me). Finding a vintage stem with a the right extension, or a longer (taller) quill is yet another wrinkle. Unless someone is looking to keep an old bike "period correct," I think it's a good idea to go with a modern stem - and that means 22.2.
I've
read that it isn't too difficult to modify a 22.2 stem to fit a 22.0 steerer. On
Saint Sheldon's site, it points out that you only need to remove 0.1 mm of material, and "a few minutes with some sandpaper will usually do the trick."
More about that to come. Read on . . .
 |
| I've got new Grand Cru "Course" bars from Velo Orange, a Nitto Technomic stem, and some Dia Compe brake levers. Not shown: a pair of vintage SunTour BarCon shift levers. The brake levers are current production (model 204) non-aero levers - probably still being made for people who want to participate in events like L'Eroica. There are a couple of versions of the 204 lever, but I found these ones with built-in quick releases which I thought might be a great idea for a project like this one. I'm going to be using centerpull brakes (which don't have a quick release to open them up for wheel removal), and large-volume tires on fairly narrow rims. Anything that makes it easier to open the brakes up wide enough to let a tire pass through is a good thing. |
 |
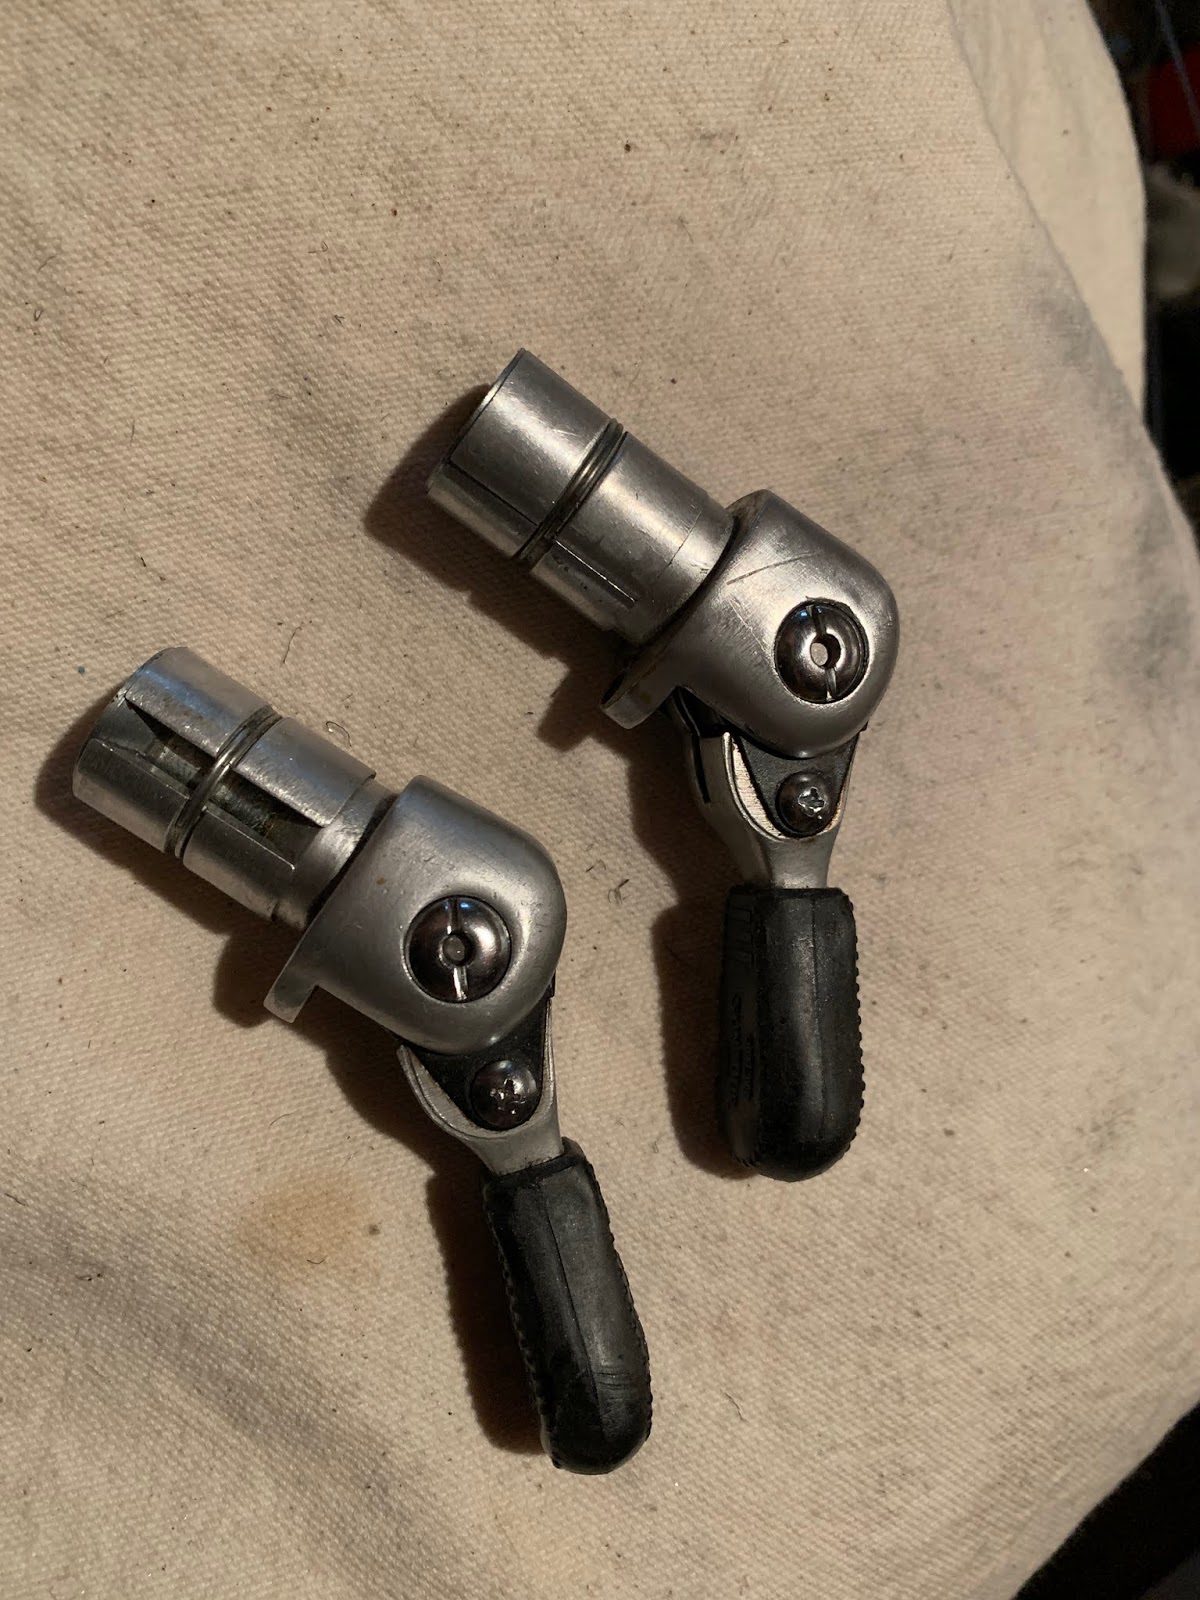
| These are the shift levers. I had them in my collection for a while just waiting for the right bike, and I think this is the one. They looked OK when I got them, but as is typical with used ones, the nuts-and-bolts hardware was scuffed or rusty. I found a seller on eBay selling replacement hardware kits - including those little round-head finishing nuts (which often go missing!). |
So, about that stem. I chose a "regular" model Nitto Technomic, which has a high-polished finish - as opposed to the Technomic Deluxe which is anodized. I figure that after slimming-down the quill, I'd be able to put the stem on my buffing wheel and make my work invisible. But with an anodized stem, there's no matching the finish once the anodizing has been removed.
 |
| I wrapped the upper part of the stem with plastic (yes, I just re-used the plastic bag it was shipped in) to protect its mirror polish while I work on the lower part of the quill. The next thing is just to wrap some coarse-grit sandpaper around the quill and get to work. |
OK, "a few minutes with some sandpaper" is a bit misleading. I worked at it till my hands were sore and tired, took a break, and came back to it and worked till my hands were sore again. Let's just say that it was a lot more than a few minutes - but I did get it there.
 |
| After working my way up through finer and finer-grit papers, then some steel wool, I got a pretty smooth finish on the lower part of the quill. You can just see a line between the the part I worked and the part I left untouched. Considering that the part I narrowed would be stuck inside the fork steerer, I could have just left it like this, but with a few more minutes on the buffing wheel, the transition disappeared. |
 |
| Once the bars and stem are installed on the bike, you'd never know all the work it took to get them to fit. |
 |
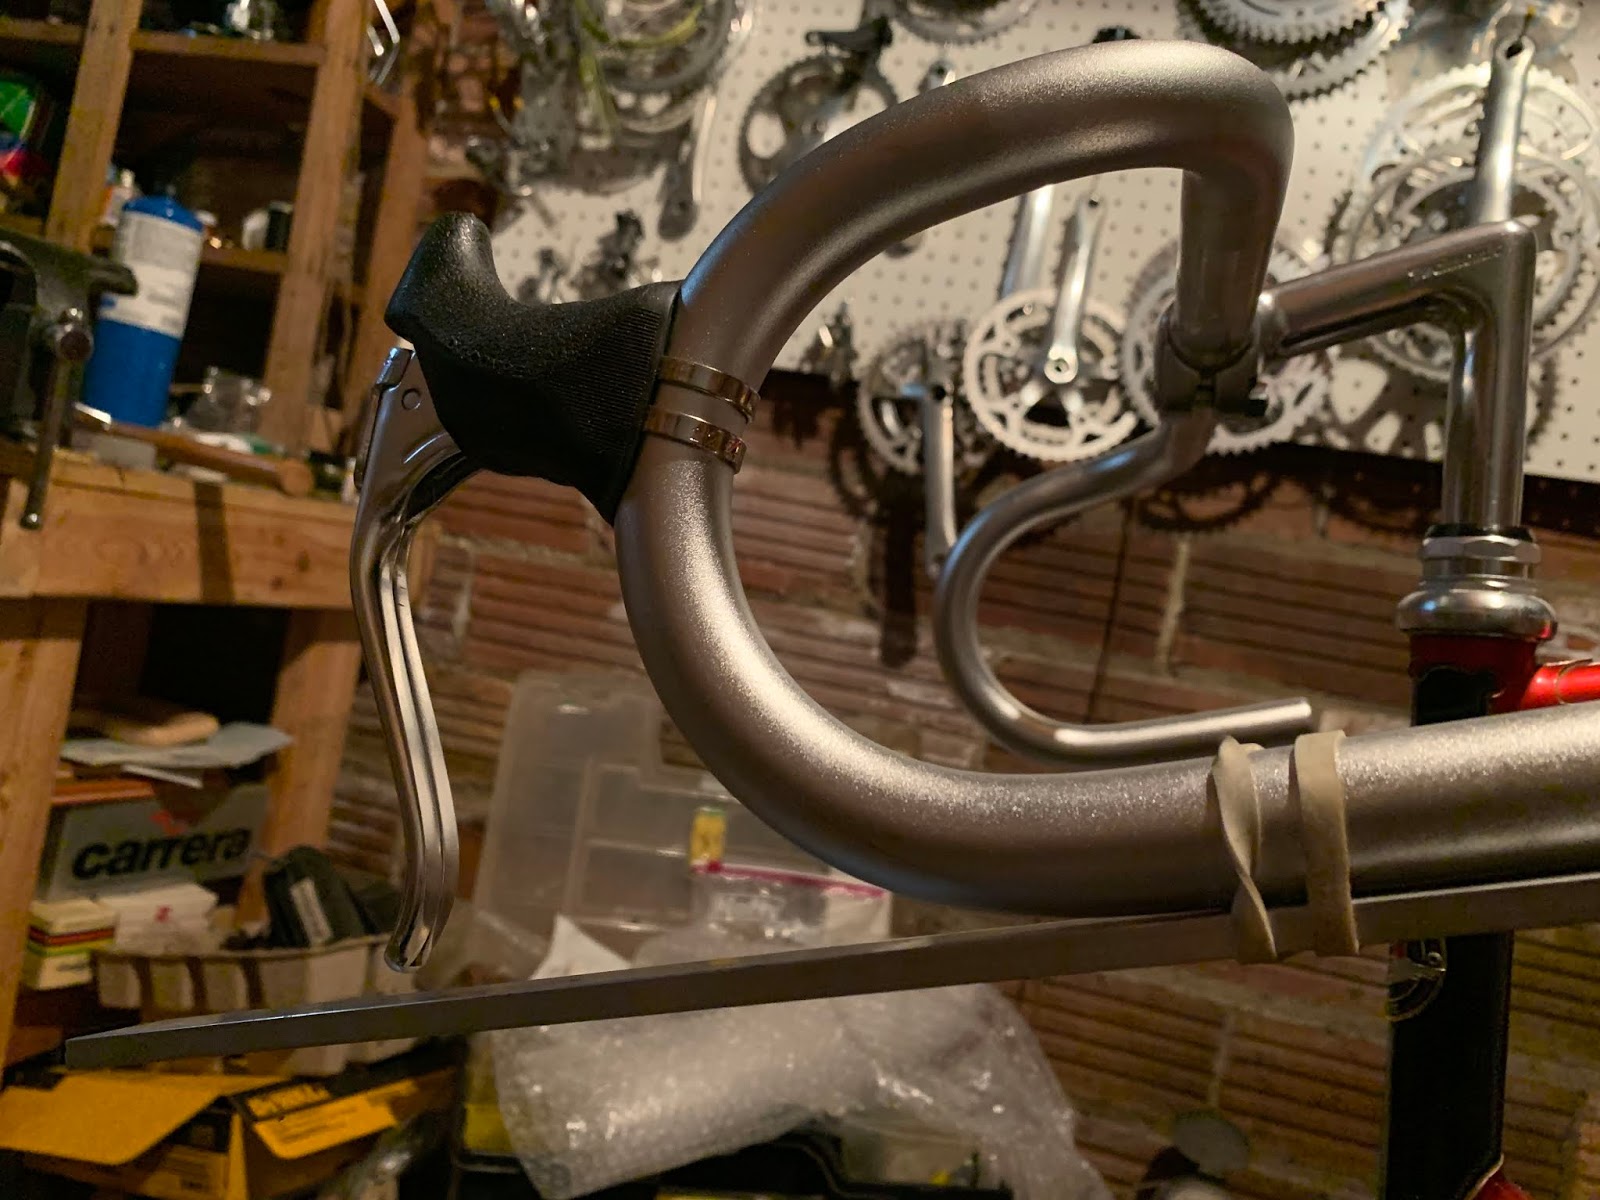
| A little trick I use to get my brake levers set to the same position on both sides. Rubber-band a straight-edge to the lower part of the bar. Locate the lever to where I want it. Some people set it up so the the tip of the lever just touches the straight-edge - or, in this case, I went with about a centimeter above - then duplicate that on the other side. |
 |
| Is it me, or the lower section on these bars really loooonnnggg? And longer with the addition of the bar end shifters. Anybody have experience with these bars - maybe recommend cutting an inch off them? |
That's all for now. Stay tuned. . .


"Is it me, or the lower section on these bars really loooonnnggg? And longer with the addition of the bar end shifters. Anybody have experience with these bars - maybe recommend cutting an inch off them?"
ReplyDeleteI recently swapped the VO Course bar, on which I'd been using Barcons, for a Compass/Rene Herse Maes Parallel, and I was surprised, at first, at how much shorter the ends of the Compass/RH bar are. I bought this bar used, but I don't think a previous owner cut the ends.
For me, the new bar is fine; I generally don't hold a drop bar by the ends of the hooks, and anyway the Barcons add an inch or so. I'd vote that the VO model has unusually long ends. Cut to your preferred length.
Yeah - I'm leaning in that direction
DeleteI have the Course bars on one of my bikes. When fighting headwinds on a long ride I like having the longer extensions on the drops to roam around on to give my arms and hands some relief, but I don't have Barcons on that bike.
Deletei once cut about an inch off a pair of Fiamme bars in order to keep my knee from hitting the barcons when "honking." i later regretted that decision when i went back to using downtube shifters and then had a mutilated Fiamme bar. Although those VO bars look pretty long even without the barcons, and the VO bars are easier to replace than that Fiamme bar was.
ReplyDelete